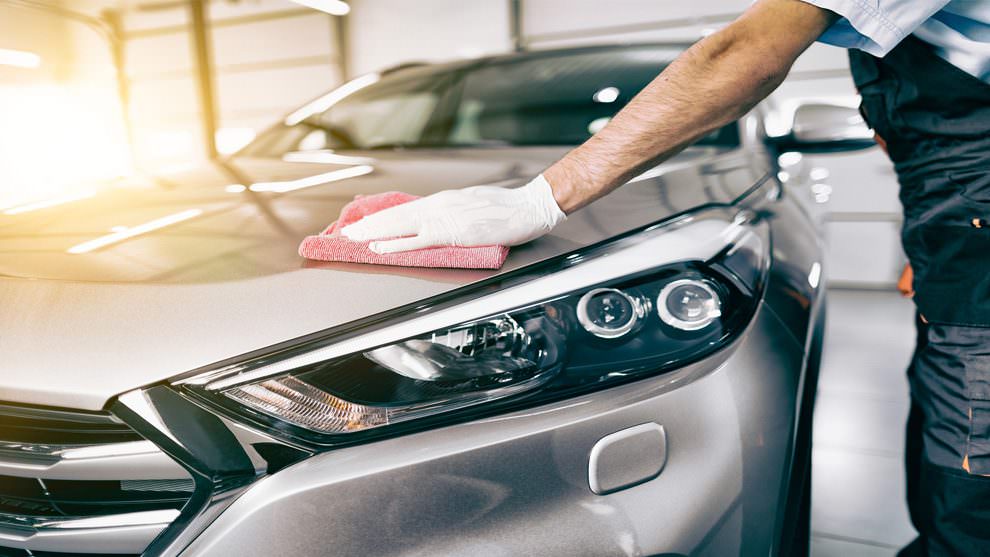
Many car owners are accustomed to washing their cars in the customary way. Should we say the best way known to them? Only few people actually wax their vehicles. People often mistake a properly waxed car for a new one. Car waxing doesn’t only make it look good or flawless, but it acts a protection for its external paint-job. We are quite aware that it could be stressful for you. Do not forget that it isn’t required of you to wax your car every morning. All you need is a just a free Saturday or Sunday. By the time you are done waxing your car, you will be astounded by the result.
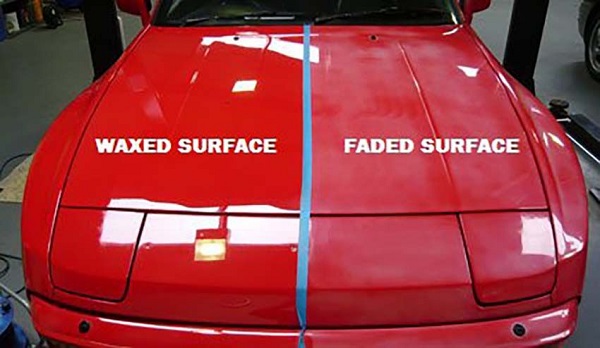
Must-have materials and tools
Before you start the waxing exercise, there are some items you need to make it process less stressful for you. These materials and tools include:
- Wax pad
- Designated car soap
- Microfiber towel
- Automobile wax
- Soft detailing brush
You can also get orbital buffer, but it isn’t compulsory. Getting it relies totally on your choice, technical know-how as well as your budget.
07 easy steps you must follow when waxing your car at home
Here are the 07 steps you have to follow when waxing your car, right in your home:
Step 1: Buying a top quality auto wax
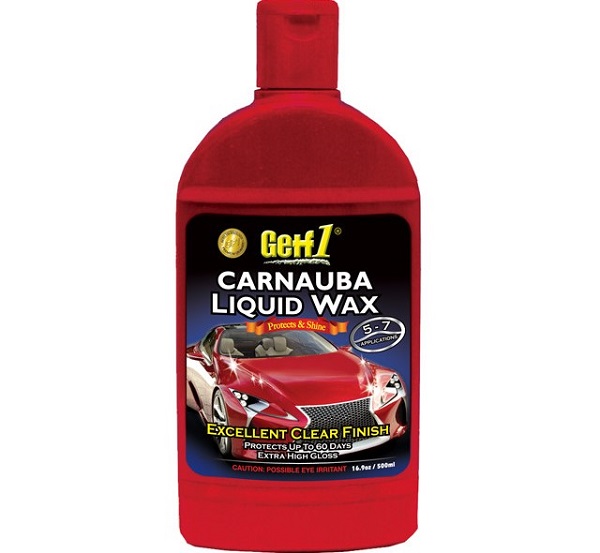
You have to approach the nearest auto store to get a very good auto wax before you even think of waxing at all. Depending on your location, there are many trustworthy wax products such as Carnauba wax and paint sealant. You can order these automobile wax products via online stores as well. Wax products can be liquid or in spray form.
Step 2: Washing your car
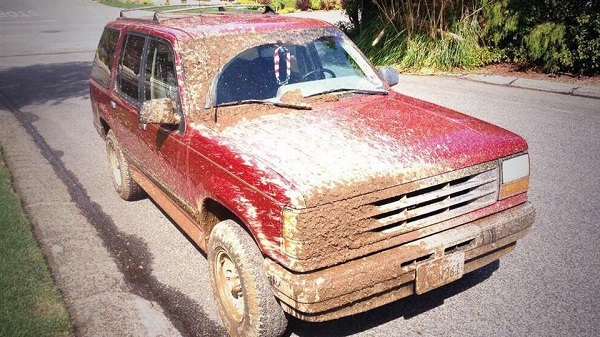
It is not advisable to apply wax on a dirty car. It is required of you to wash your car thoroughly before you start waxing. When you apply wax on a dirty car, the clear coat on the paint job will become scratched. You need to pay attention to easily negligible areas such as door handles, door jambs or transitional places. After washing, leave your car to properly dry before using the wax on it.
Step 3: Waxing your car under a cover
It is important to find a protective cover before you start applying wax on the car. When you apply wax in a very hot environment or under hot sun, the wax dries instantly when it touches the hot surface and gets caked on. When this happens, it turns the wax removal into a nightmare for you. Similarly, when you wax under rain, it gets messy since the wax will not stick properly to the intended areas. The wax might run off the surface from the heavy downpour. Get your car to a controlled environment and do it properly.
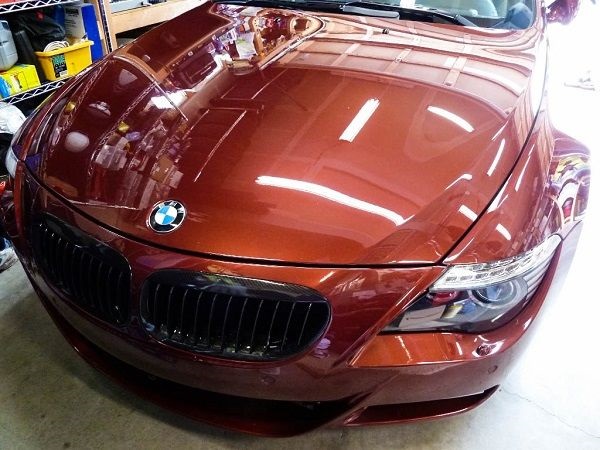
Step 4: applying wax to the pad
You have to open the package for auto wax in tub format, while getting the pad removed. There is usually another lid under the pad. The lid should unveil the wax when you open it. In case you acquired a liquid paint sealant, it is recommended you apply small amount of the sealant onto the waxing pad directly. It is very important to begin with small amount if you are using the liquid paint sealant or wax paste. When you start waxing the car, the pad will start getting saturated with this wax product.
>>> You might also love to read this: What is the easiest way of removing stickers from your car in Nigeria?
Step 5: picking a spot on the car to start waxing
To avoid stressing yourself or time wastage, you need to begin the waxing in sections. This will give you an insight on the areas that are covered while preventing drying out of the wax. It is often very difficult to remove when you leave a wax on your car for too much time. Although, it isn’t harmful on your car’s paint job but might give you headache at the point of removal. We often tell people who intend to wax their vehicles to start from the front fender panel, which is found on the 2 sides of the car, over the wheels at the front, an extension to the front of the car. Starting at this section will make it easy for you to work your way around the whole car.
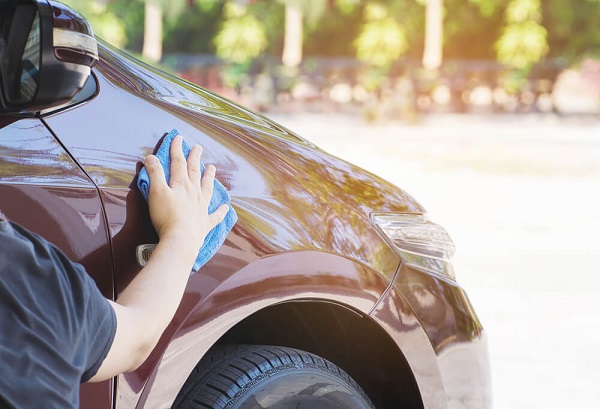
Step 6: Using circular motion when waxing
At this stage, you should apply the wax in a small, circular way. It is advisable to apply a thin layer of this wax to that section you are working on. You can use either vertical or horizontal rows of small circles to cover these areas. It is not required to apply lots of wax on the area you are working on, since it would become hard to remove. When you have successfully applied this wax, it will dry out in just few minutes. At this point, the waxed area will feel chalky and look matte.
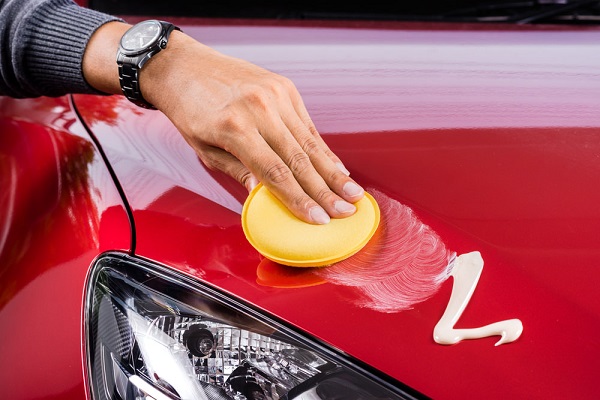
Step 7: Using soft cloth to remove the wax
You need to make use of soft material/cloth such as chamois or microfiber towel. Begin the wax removal by applying soft pressure to the cloth in a circular motion. Most wax should be removed after this exercise. When you have gotten rid of the majority of the wax on your car, you can get it buffed by making use of fast circular motion to achieve that shinning appearance. When you remove the wax fully from the surface, we expect your car to look as good as new.
Note: before you start using the wax product you acquired from the auto shop, you should take your time and read the instructions on the package. This will help you apply the wax correctly on your car as stated by the manufacturer.
We believe bulk of your worries on how best to apply wax on a car is fast gone. You can check out the tip section for more of these helpful and informative tips.
